
Before you start sowing those first seeds, it’s always a good idea to have a bit of a plan as to what and how much you want to grow. Remember…all those little baby plants must have adequate space outside…eventually. I’m as guilty as the next for ordering more seeds than I’ll ever need and wanting to try every variety so in hindsight, maybe that’s fine too!! Grow those seeds in to loads of plants and then be that neighbour and gift half of them away…it’s therapeutic!!
But if you are a planner, start here…
PLANNING- Space and Plan
What do you want to grow and how much space do you have to fill? You could use square foot garden planning tools to understand how much space things take up. - Frost Free Days - May 29 - September 15
This is important to understand so you know when to start seeding or whether to purchase plants. You have about 108 days of growing…keep in mind these dates are an average, so we do get frost earlier/later than May 29 and earlier than September 15 but it’s a place to start.
When a package indicates you need to start your seeds six weeks before the last frost date, use May 29 as a place to start counting back. - What to Grow and How
- How to Read Your Seed Packet
Your seed packets are going to tell you how long it takes for the seed to germinate and when you can plant outdoors (after your areas frost free date) to be ready for transplant. It may also give you specific information on what the plant requires for germination. Vegetables tend to be much easier to seed without too much extra effort compared to some flowers, which can require specific handling in order to germinate, some need stratification or soaking or different germination temperatures, you just need to know what your specific seed needs for proper germination. Like I said, if you’re here for vegetables, they are pretty easy to get going without any real fuss. - Seed Indoors – Direct Seed – Purchase Transplants
Once you determine what you want in your garden you can start to understand what it will take to get those plants in to your garden. I know this is about starting seedlings indoors but some plants you may not want to start from seed. Some things to consider when deciding if you want to start from seed are:
Cost Savings – If you need a lot of the same plant it might be worthwhile to seed. If you are only interested in one or two of a certain plant it might not be worth the effort and output to grow from seed and you might as well purchase the plants at a greenhouse.
Options – There are far more options available when purchasing seeds than there are at greenhouses for plant variety options. So that’s pretty cool…you can try different varieties or find your favourite unique varieties.
Time – Some plants take forever to get going and you may or may not have the time to start them so early and keep up with them as they need to grow. With our outdoor growing season being so short you may need to purchase a plant rather than waiting on seedlings and some plants are biennials so you have little chance to get what you want out of a growing season.
- How to Read Your Seed Packet
Plants that are easy to start indoors include; Broccoli, Cabbage, Cauliflower, Leeks, Kohlrabi, Peppers and Tomatoes. Herb plants that are easy to seed indoors are basil, cilantro and dill.
Directed seeded plants include most of your root vegetables. I have good success with melons, cucumbers and squash but they can also be transplanted
Don’t get started too early!! Look at the packet for the number of days/weeks before last frost to start your seeds. If you start them too early, you could end up with spindly, leggy plants or ones that have grown too large for their containers. Even if you have good lighting, your plants will not thrive being cooped up in the house too long.
SUPPLIES- Quality Seed
- Growing Medium
Start seeds in clean, sterile seed-starting mix. You’ll want to use a sterile mix that is primarily made of peat or coconut coir. It is lightweight and pathogen free and also low (preferably none) in fertility; seeds are equipped with enough nutrients to make it to their first set of true leaves before they need anything from the soil.
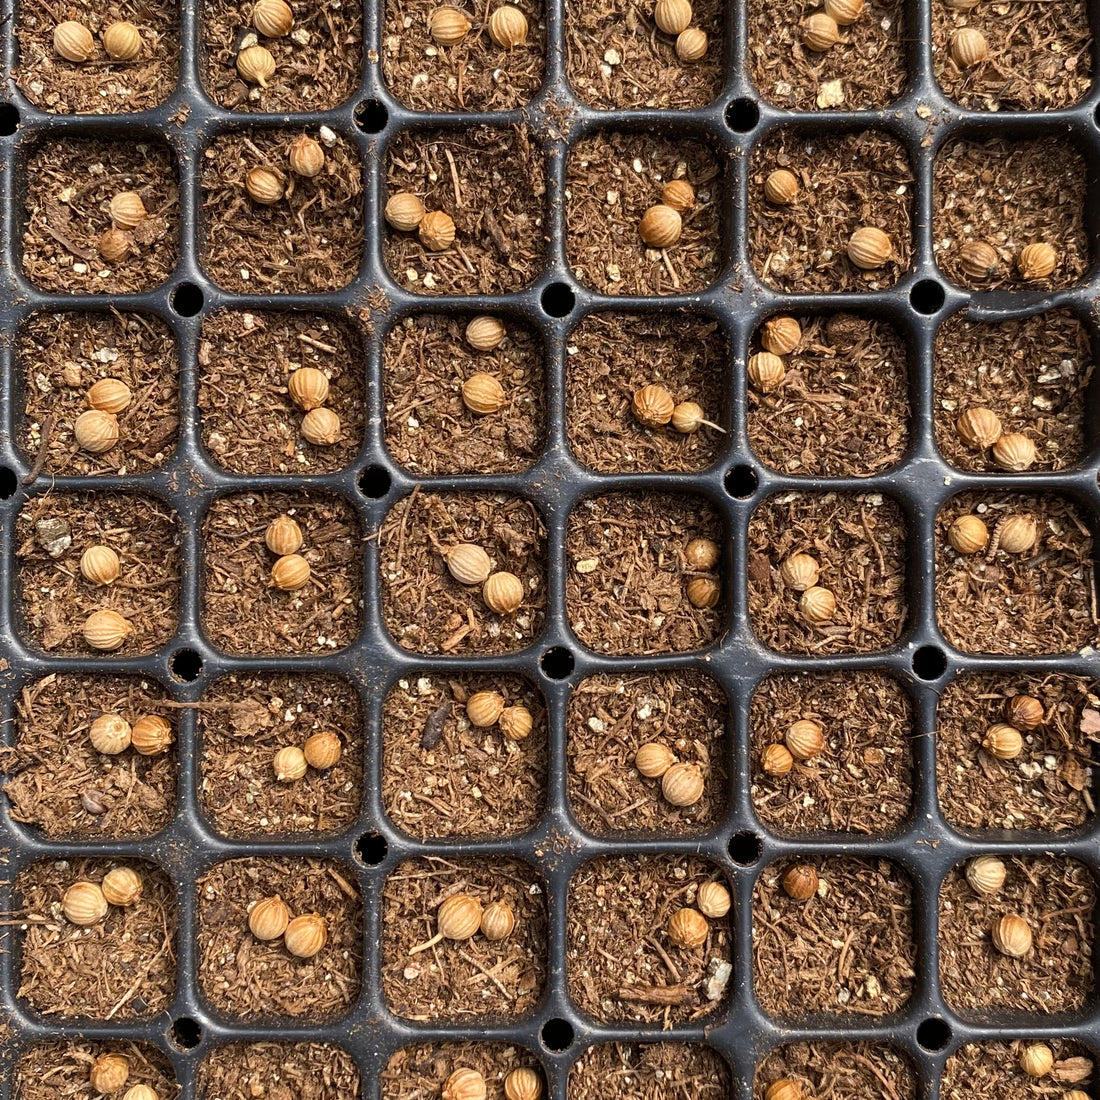
Seeding mix should be used over regular potting mix as it is much lighter and finer which allows good contact with the seed. Larger seeds (melons, cucumbers, etc) are fine with regular mix and larger cells as well. When bumping up seedlings use potting mix in the new cells. - Seed Trays and Pots
Seeds are best planted in individual pots or trays with individual cells to make transplanting easy. You can use plastic or peat pots, yogurt containers and egg cartons. Almost any container will work but make sure there are drainage holes in the bottom. Seeds and young seedlings don’t like to have wet feet so start seeds in appropriate container sizes, starting some of the small seeds in large containers is difficult to get the water right.
If you are reusing plastic pots be sure to soak them in warm water and bleach at a rate of nine parts water to one part bleach to kill any pathogens or bacteria that is present. - Catch Tray and Clear Dome Lid
- Tags
- Grow Lights (Optional but Recommended)
Plants need A LOT of sunlight to grow to be strong and healthy. Unfortunately, in our location even in the brightest, unobstructed south facing windows we tend to not have enough light hours especially when starting seeds early in the season. If your plants seem spindly/weak or they look like they are bending they are certainly stretching for light.
When setting up your system you will want your lights on for 16 hours/day and you can let the plant rest for the remaining 8 hours.
You can use either fluorescent or LED lights; there are some positives and negatives to each. While they have a higher up-front cost, LEDs use much less energy than fluorescents and can save money over several seasons of use. The reduced energy usage also means there’s less energy loss in the form of heat, which can be a positive if you are always struggling with creating excess heat that burns your plants, but a negative if you’re relying on that heat to help keep the temperatures up or have issues with drying out your growing media. Fluorescents on the other hand can be more affordable up-front, but have a higher energy usage that will result in higher electric bills over time.
Fluorescent lights should be kept about 2” above the seedlings and adjusted to such as the plants grow. LED lights you have to play with a little to get the height right so monitor your plants and if they seem to be stretching or bending then definitely bring the lights closer. If the leaves look like they are turning purple that would indicate over exposure so move them farther away.
Duration: 16 hours on and 8 hours Off - Heat Mat (Optional but Recommended)
Heat is usually the most important factor in coaxing your seeds to germinate, so placing your newly sown seeds in a warm (around 24-25C or 75F) place will help them germinate faster. Fast germination is key for making sure you get the optimal number of seeds sprouting. However, moving the seedlings to a cooler place (around 65 degrees) after they’re germinated will make them grow sturdier and keep them from getting thin and leggy. If you don’t have a heat mat you may get away with germinating them on top of your refrigerator, you can usually get the warmth needed there but don’t forget about them because as soon as they emerge they will need to be in sunlight.